
Air Fryer Chicken Breast: A Deliciously Simple Way to Cook Tender, Juicy Chicken Every Time
Introduction
Chicken breast is one of the most versatile proteins available—lean, protein-packed, and perfect for a variety of cuisines. However, cooking chicken breast can sometimes be tricky. Without the right method, it can turn out dry, rubbery, or unevenly cooked. Enter the air fryer—a game-changer in modern kitchens. The air fryer has rapidly become a go-to appliance for health-conscious cooks and busy families alike, offering a way to prepare delicious, crispy meals with minimal oil and maximum flavor.
Air fryer chicken breast combines the convenience of fast cooking with the promise of juicy, tender meat and a perfectly crisp exterior. Whether you’re looking for a simple meal prep option, a healthy dinner, or a protein-rich lunch, this dish is both reliable and adaptable.
In this comprehensive article, we’ll delve into the benefits of using the air fryer, the key steps to achieving succulent chicken breasts, seasoning variations to match your taste preferences, serving ideas, and tips to make this recipe your own. You’ll walk away knowing how to consistently deliver perfectly cooked chicken breasts with minimal effort and cleanup.
Why Use an Air Fryer for Chicken Breast?
1. Healthier Cooking
Air fryers require significantly less oil than traditional frying or pan-searing methods. A light brush or spray is often enough to achieve a crispy, golden crust. This reduces calorie intake while preserving flavor and texture.
2. Time Efficiency
Chicken breasts cook quickly in the air fryer—usually between 15 to 20 minutes—making it a practical option for weeknight dinners or meal prepping.
3. Even Cooking
The air fryer circulates hot air around the chicken breast, ensuring even cooking throughout. This reduces the risk of undercooked or overcooked spots.
4. Easy Cleanup
With a non-stick basket and minimal splatter, cleaning up after cooking is a breeze. This is especially appealing for those who dislike washing multiple pots and pans.
Ingredients and Tools You’ll Need
Ingredients:
-
2 boneless, skinless chicken breasts (about 6–8 oz each)
-
1 tablespoon olive oil (or spray)
-
1 teaspoon garlic powder
-
1 teaspoon onion powder
-
1 teaspoon paprika (smoked or sweet)
-
1 teaspoon Italian seasoning (optional)
-
½ teaspoon salt
-
½ teaspoon black pepper
-
Optional: pinch of cayenne for spice
-
Optional marinades (e.g., lemon herb, honey mustard, teriyaki)
Tools:
-
Air fryer (any model with at least 3.5–4 qt capacity)
-
Meat thermometer
-
Silicone brush or oil spray
-
Mixing bowl
-
Tongs or spatula
The Recipe: Air Fryer Chicken Breast
Step 1: Prepare the Chicken
Trim the chicken breasts of any excess fat or connective tissue. If one end is significantly thicker than the other, consider butterflying the thick part or gently pounding the chicken to an even thickness (about ¾ to 1 inch thick). This ensures even cooking.
Optional brine: For juicier results, soak the chicken breasts in a saltwater brine (1 tablespoon salt per 4 cups water) for 30 minutes to 1 hour before seasoning. Pat dry thoroughly afterward.
Step 2: Season the Chicken
Place the chicken breasts in a bowl or on a plate. Drizzle with olive oil or spray lightly with cooking spray.
In a small bowl, mix the seasonings: garlic powder, onion powder, paprika, Italian seasoning, salt, and pepper. Add cayenne if you like a kick.
Rub the spice mix evenly onto both sides of the chicken breasts. Make sure every surface is coated. You can let the seasoned chicken rest for 10–15 minutes to allow the flavors to penetrate, or refrigerate for up to 24 hours if prepping ahead.
Step 3: Preheat the Air Fryer
Preheat your air fryer to 375°F (190°C) for 3–5 minutes. Preheating ensures that the chicken starts cooking immediately, giving it a better sear and texture.
Step 4: Cook the Chicken
Place the seasoned chicken breasts in the air fryer basket. Do not overlap them; give them space for air circulation.
Cook at 375°F (190°C) for 16–20 minutes, flipping halfway through at around the 8–10 minute mark.
Internal temperature check: Use a meat thermometer to ensure the thickest part of the chicken reaches 165°F (74°C). Avoid overcooking, as chicken breast can dry out quickly.
If the chicken isn’t quite done after 16 minutes, continue cooking in 2-minute intervals until it reaches the proper temperature.
Step 5: Rest and Slice
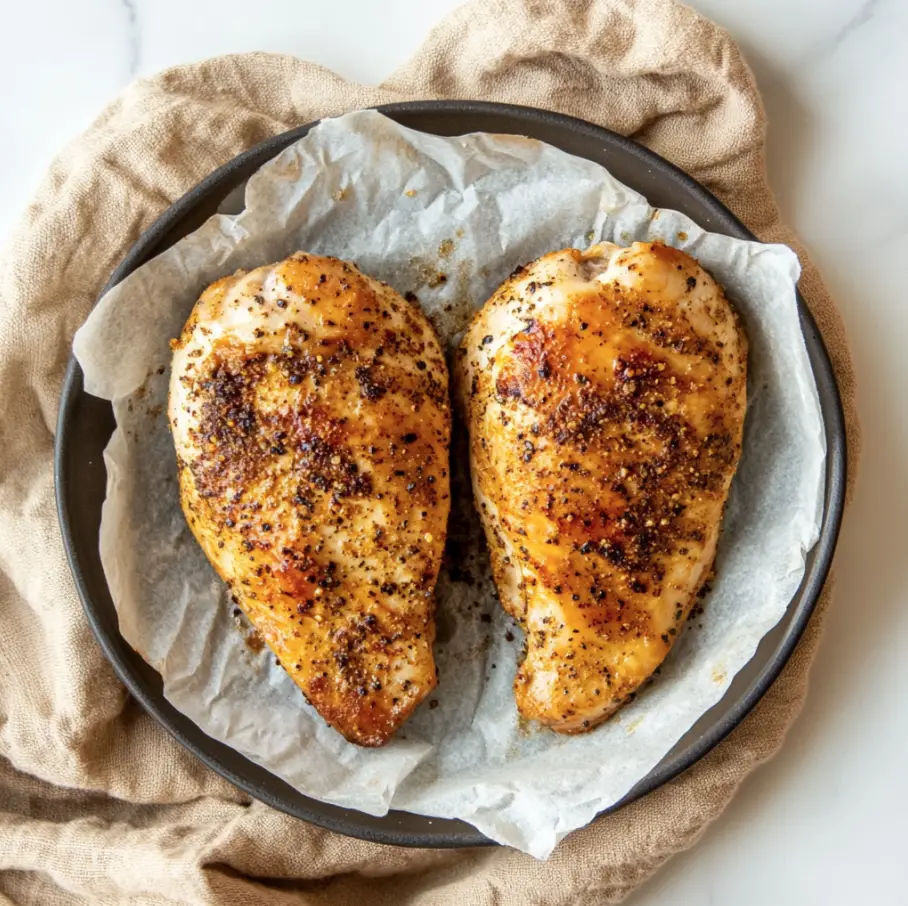
Once cooked, remove the chicken from the air fryer and let it rest for 5 minutes. This allows the juices to redistribute and keeps the meat tender when sliced.
Slice against the grain and serve hot.
Variations and Flavor Enhancements
The base recipe is delicious on its own, but you can easily modify it for different flavors:
1. Lemon Herb Chicken
-
Marinade: Olive oil, lemon juice, garlic, rosemary, thyme
-
Great with: Roasted vegetables or rice pilaf
2. Spicy Cajun Chicken
-
Seasoning: Cajun spice blend, cayenne pepper, smoked paprika
-
Great with: Mashed potatoes or sautéed greens
3. Honey Mustard Chicken
-
Marinade: Dijon mustard, honey, garlic, olive oil
-
Great with: Green salad or quinoa
4. Teriyaki Chicken
-
Marinade: Soy sauce, ginger, garlic, brown sugar, sesame oil
-
Great with: Steamed broccoli and rice
Serving Suggestions
1. As a Main Dish
Pair with sides like:
-
Garlic mashed potatoes
-
Roasted carrots or green beans
-
Air fryer sweet potato fries
2. In a Salad
Slice the chicken breast thinly and serve it over a bed of romaine, cherry tomatoes, cucumber, and croutons. Add a vinaigrette or Caesar dressing.
3. For Meal Prep
Store cooked chicken in airtight containers with brown rice, quinoa, or roasted veggies for a week’s worth of lunches.
4. In Sandwiches or Wraps
Slice the chicken breast and add to whole-grain wraps with lettuce, tomato, cheese, and mayo or your favorite sauce.
5. In Pasta or Rice Bowls
Dice and mix into creamy pasta dishes or grain bowls with sautéed vegetables and light sauces.
Tips for Success
-
Even Thickness = Even Cooking
Pound the chicken to even out thickness and ensure consistent cooking. -
Use a Thermometer
Always check the internal temperature to avoid under or overcooking. -
Resting Is Crucial
A short rest period keeps juices locked in and prevents dry meat. -
Don’t Overcrowd the Basket
Air needs to circulate. Cook in batches if needed. -
Add Moisture if Reheating
Add a small splash of broth or cover with a damp paper towel if reheating in the microwave.
Storing and Reheating
Storage:
-
Refrigerate leftovers in an airtight container for up to 4 days.
-
Freeze for up to 2 months in freezer-safe bags.
Reheating:
-
Air fryer: 350°F (175°C) for 3–4 minutes
-
Microwave: Add moisture and heat in 30-second intervals
-
Oven: 325°F (160°C) covered with foil for 10–12 minutes
Nutritional Breakdown (per chicken breast, ~6 oz)
-
Calories: ~220
-
Protein: ~35g
-
Fat: ~8g
-
Carbohydrates: ~1g
-
Fiber: 0g
-
Sugar: 0g
Note: Values may vary based on size and seasoning/marinade.
Common Mistakes to Avoid
-
Skipping the preheat: Preheating helps you get that perfect sear.
-
Not drying the chicken: Wet chicken = soggy coating.
-
Overcrowding: Leads to uneven cooking.
-
Overcooking: Results in tough, dry meat.
-
Under-seasoning: Don’t be afraid to use a bold spice rub.
Frequently Asked Questions
Q: Can I use frozen chicken breasts?
Yes, but increase cook time by about 5–8 minutes. Be sure to check internal temperature.
Q: Can I bread the chicken breast?
Yes, dip in flour, egg wash, then breadcrumbs. Lightly spray with oil and air fry for extra crispiness.
Q: Can I stack chicken breasts?
It’s best to avoid stacking. If you must, shake or rotate halfway through cooking for even doneness.
Conclusion
Cooking chicken breast in the air fryer is a smart, healthy, and efficient way to prepare one of the most popular proteins around. With just a few ingredients and minimal prep, you can create a delicious, juicy main course that complements a wide range of meals—from salads and wraps to full dinner plates.
This method not only saves time but also cuts down on calories and cleanup, making it ideal for busy households, fitness enthusiasts, and food lovers alike. By following the steps laid out in this article—trimming, seasoning, and air frying to perfection—you’ll consistently turn out tender, flavorful chicken that rivals any grilled or baked version.
So whether you’re prepping meals for the week, making a quick dinner, or experimenting with new flavors, the air fryer is your trusty kitchen companion. Grab your favorite seasonings, fire up your air fryer, and enjoy a new go-to chicken breast recipe that’s sure to become a staple in your home!
