
Learning how to clean your air fryer is an important thing. You might be worried how to do it, but it is actually quite simple.
HOW TO CLEAN YOUR AIR FRYER
Welcome to the air fryer club! So you’ve gotten an air fryer recently? Maybe you scored it for Christmas!
We often get asked, “how exactly do you clean an air fryer?” That is a great question and it can vary slightly from brand to brand.
One thing is for sure, that clean up duty isn’t too bad with your air fryer. You are generally using less oil, so your clean up should be a snap!
But we will do our best to break it down in this post! But first, let’s all make sure we understand the air fryer!
How to clean your Air Fryer – Step by Step
- Unplug your air fryer from the outlet. While this might seem like common sense, it is worth mentioning as it is very important.
- Let your air fryer completely cool down. There is no need to immediately clean your machine right after use. It is dangerous and you can easily burn yourself!
- Wipe the outside of your oil less fryer with a damp cloth. The cloth should be wet enough to gently wipe away food or grease but it should not be dripping with moisture.
- Remove the basket container. Your basket should have two parts. Be sure to remove the inner basket from the outer basket, when cool. Gently scrub each basket with soap and water. Many new air fryer models have dishwasher safe baskets!
- If the inside of your air fryer is dirty, you can wipe it down with a damp sponge.
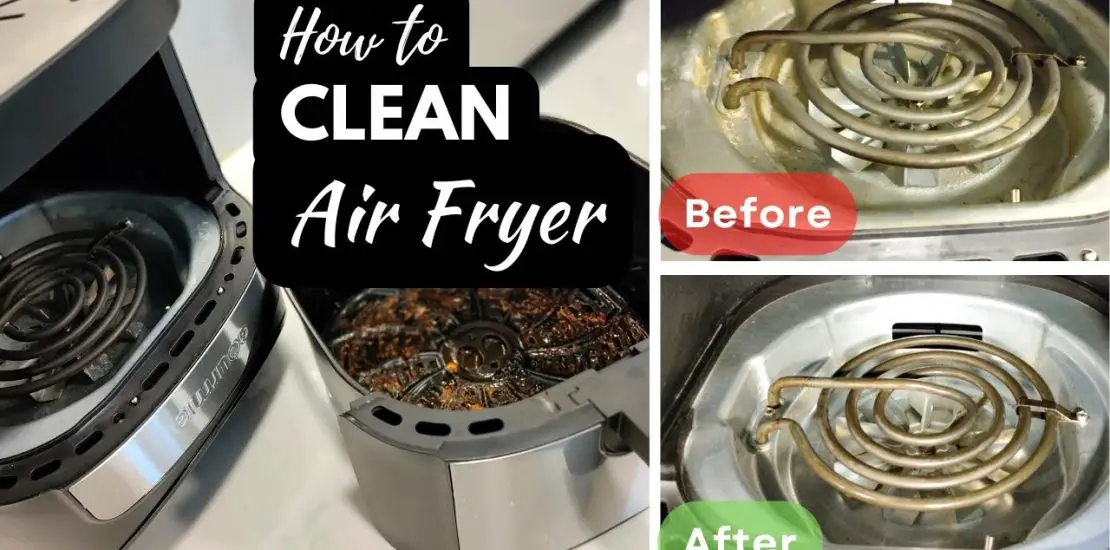
- Check the heating element of your fryer. You might need to gently turn the machine upside down to easily see and access the air fryer heating element. You can use a damp sponge to clean or a soft brush.
PRO TIP: Make sure the two air fryer baskets and the inside of your air fryer unit are completely dry before putting it back together for storage.
